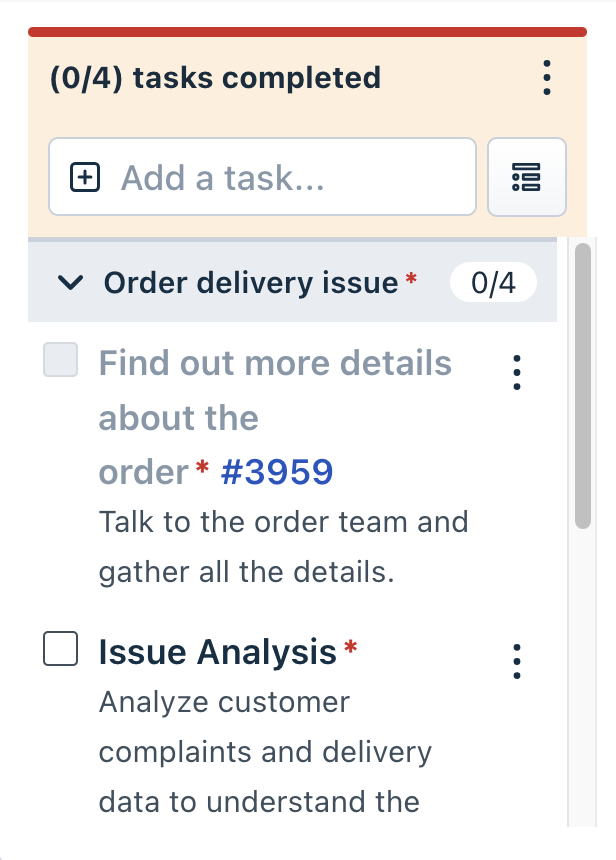
If you've got lists of tasks that often need to be completed on a recurring basis, then turning those lists into reusable lists will save you and your team a lot of time.
To create a Checklist, open app settings and click New Checklist.
You'll then need to give your Checklist a title and then click on Tasks.

Click on Add a task to open the new task configuration.

For each task, you will be able to set:
- A name.
- A note that describes how the task can be completed.
- A link to a knowledge-base article on how to complete the task.
- A ticket template. This will cause a subticket to be automatically created the instant the task is added.
- A tag that will automatically be added to the ticket once it is checked off.
Note that the only required item for a task is its name.

Similarly, you can add more tasks to your Checklist.
When you're done adding tasks, click on Save and head over to a ticket.
You'll find the the Checklists app on the sidebar of ticket.
To add the newly created Checklist to a ticket, click on the button next to the text input. Then, pick a checklist to add to the ticket.

Voila, all tasks in the Checklist are added to the ticket.

Was this article helpful?
That’s Great!
Thank you for your feedback
Sorry! We couldn't be helpful
Thank you for your feedback
Feedback sent
We appreciate your effort and will try to fix the article